5 min readAuf Deutsch lesen
How to File Nail Shapes: Almond, Oval, Square, and Coffin
Master filing symmetrical nail shapes like almond, oval, square, and coffin to match every client's hands professionally.
In short
To file nail shapes accurately, hold your file at a consistent angle, work from the outer sidewalls towards the centre, and check symmetry from the client's perspective. Selecting the right shape—whether almond, oval, square, or coffin—depends on finger length and nail bed proportion to ensure structural stability and balanced hand aesthetics.
At a glance
- Key Techniques
- Filing angles, sidewall balance, symmetry control
- Popular Shapes
- Almond, Oval, Square, Coffin
- Course Format
- Hybrid learning with real model practice in Vienna
- Included Tools
- Starter kit with files, e-file, lamp, and gels
Which nail shape suits which hand best?
Learning how to file nail shapes correctly is the foundation of professional manicures. Natural finger length, nail bed width, and cuticle line curvature dictate which contour creates a flattering visual balance. Almond and oval shapes elongate shorter fingers, whereas square contours flatter long fingers with wide nail beds by providing a structured finish.
When working with clients, assessing hand proportions prevents structural weakness. Coffin nails require sufficient length and gel or acrylic support to keep tapered side edges strong, while shorter natural nails perform best with rounded or oval contours. In Austria, nail design operates as a freies Gewerbe (a free trade requiring no formal apprenticeship to obtain a Gewerbeschein or trade licence), meaning studio managers look directly at technical skill and filing precision when hiring.
Developing a keen eye for hand anatomy is a core component of practical training. Hands-on guidance helps technicians analyse nail bed geometry quickly before taking up a file.
02
How to file nail shapes step by step
Shaping nails requires a disciplined sequence to maintain consistent length and side balance across all ten fingers. Moving methodically prevents over-filing fragile sidewalls.
- 1
Step 1: Straighten sidewalls
Hold the file parallel to the lateral nail groove and straighten the sidewalls without tucking into the stress area.
- 2
Step 2: Establish the baseline
Set the overall length by filing the free edge perpendicular to the central finger axis.
- 3
Step 3: Taper or round the corners
Angle the file smoothly from the outer corner inward toward the centre axis, avoiding rapid back-and-forth sawing motions.
- 4
Step 4: Refine symmetry
Turn the client's hand toward you to view the nail from their perspective, ensuring equal curvature on both sides.
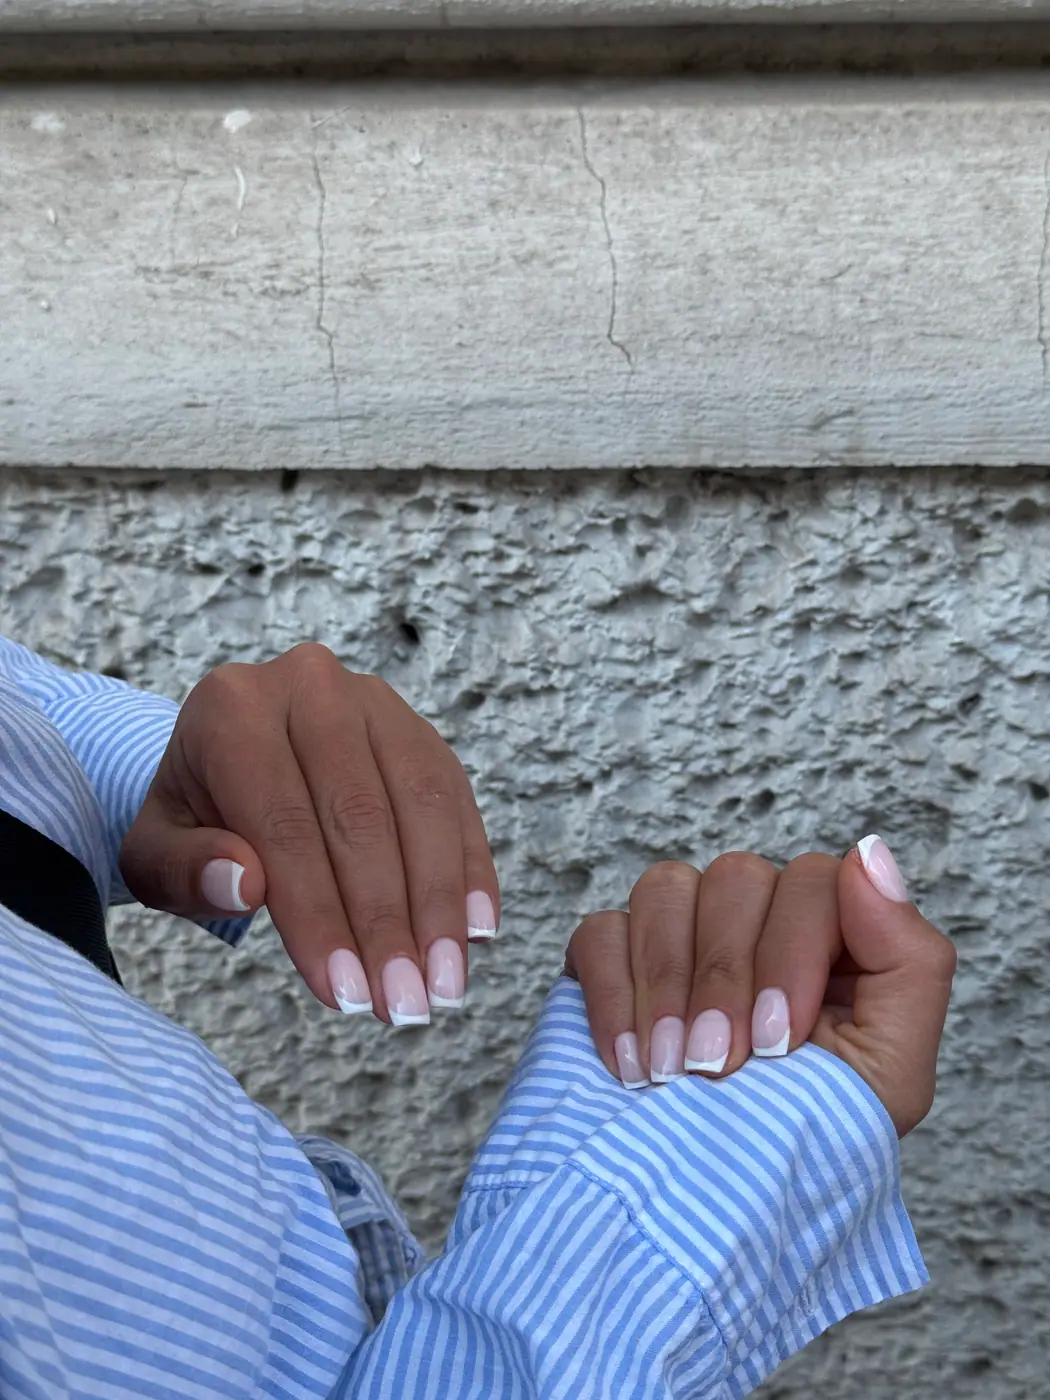
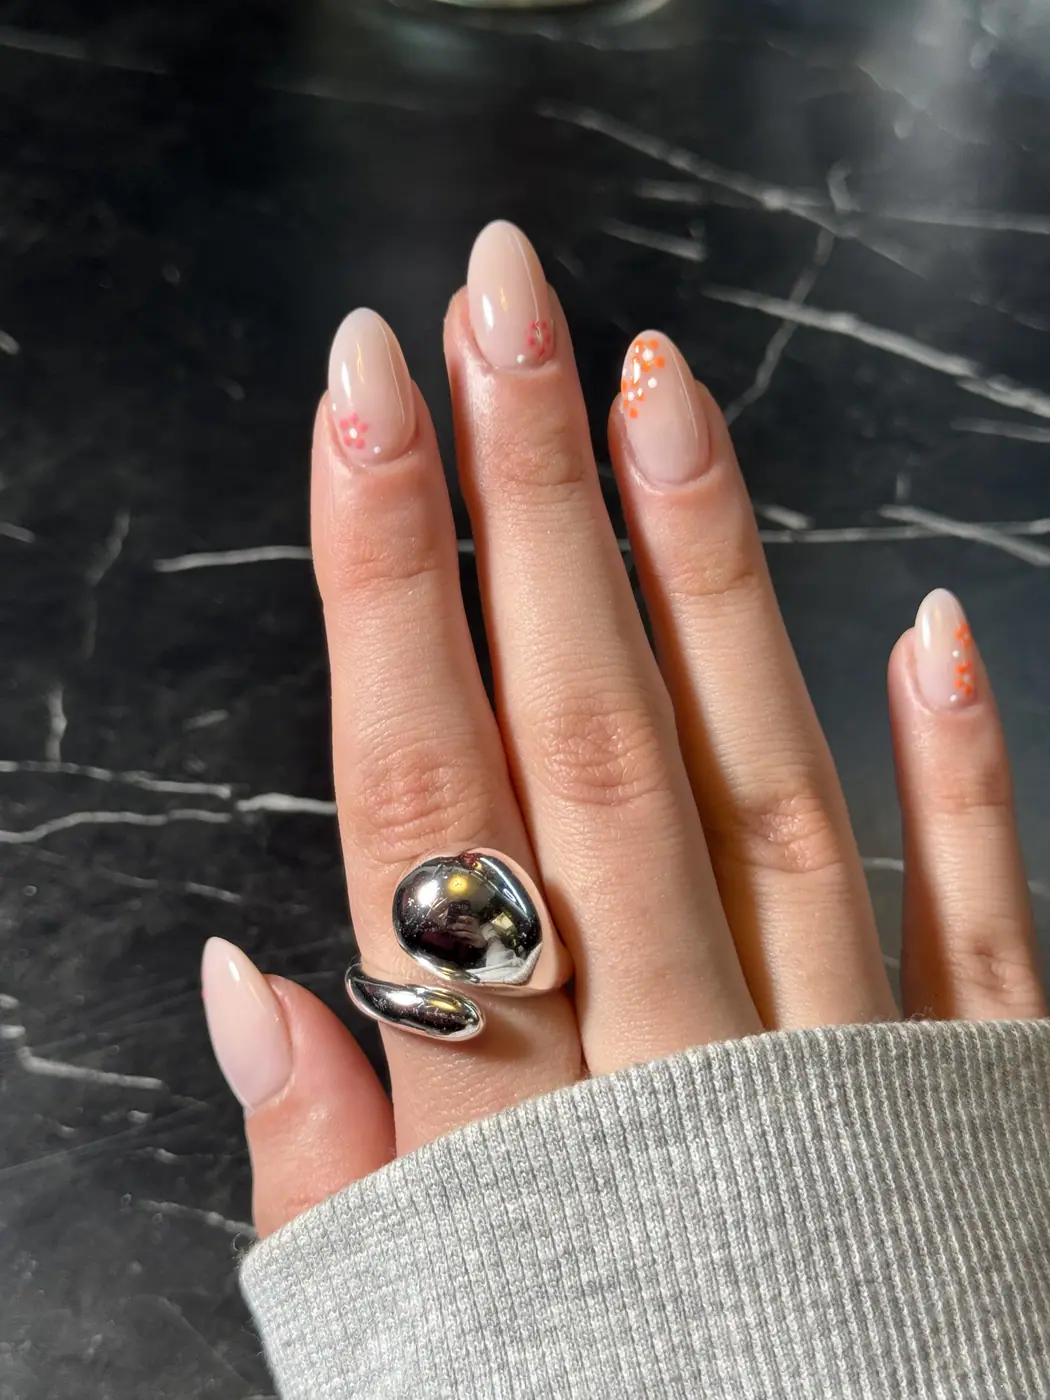
What are the golden rules when you file nail shapes symmetrically?
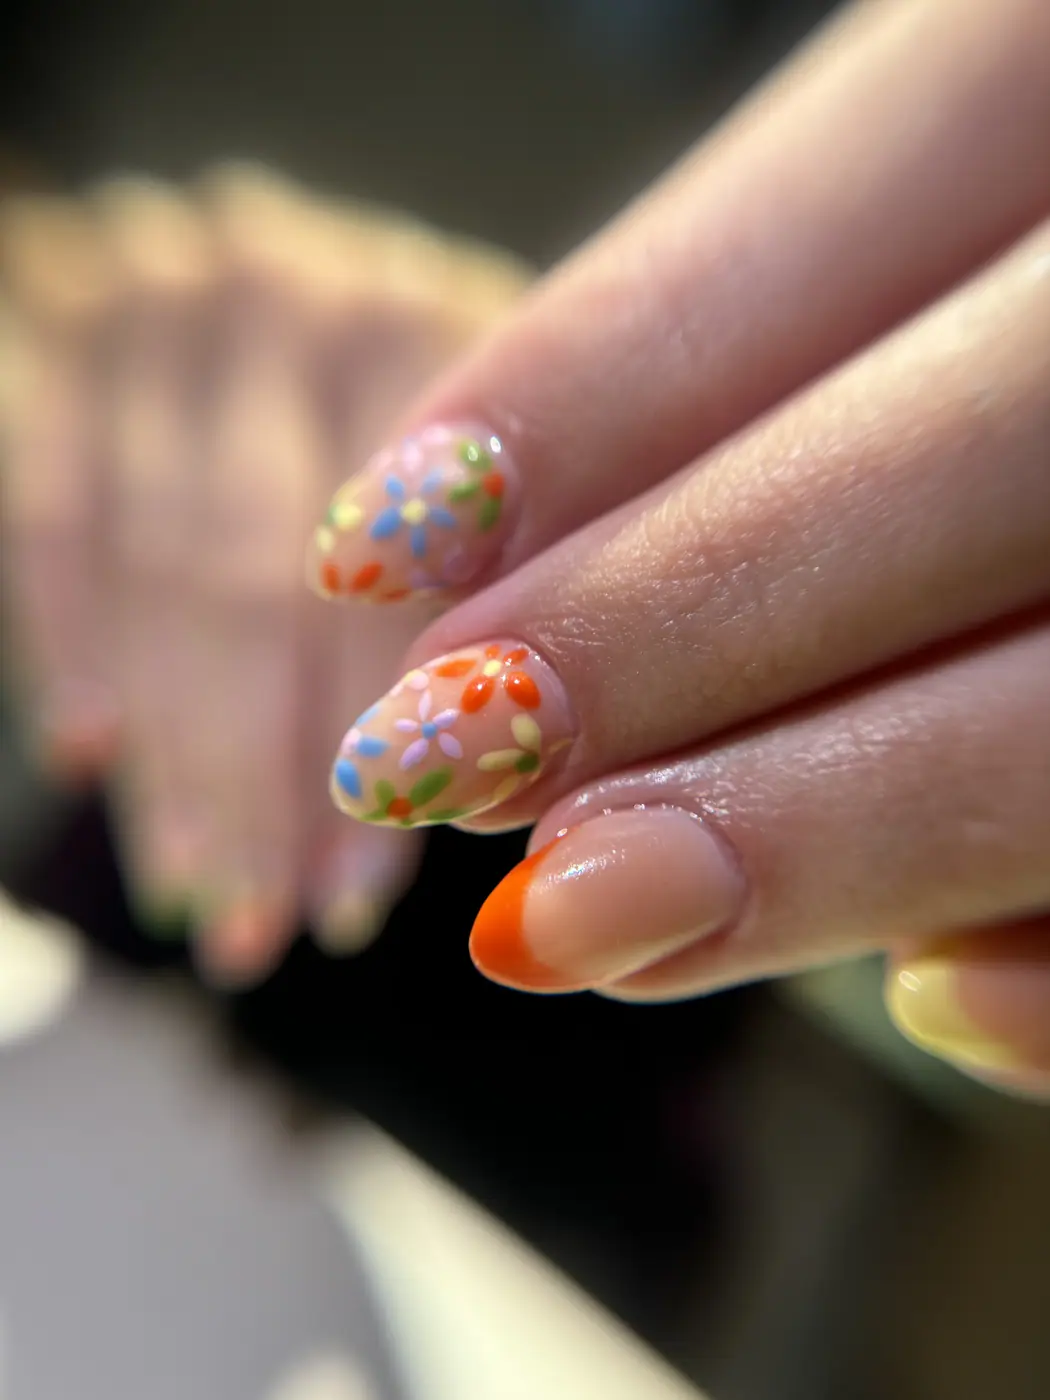
Achieving perfect symmetry across both hands is one of the most challenging skills for new technicians. The key is maintaining a fixed hand posture and consistently checking the central axis of the finger rather than the nail bed itself, which is often naturally asymmetrical.
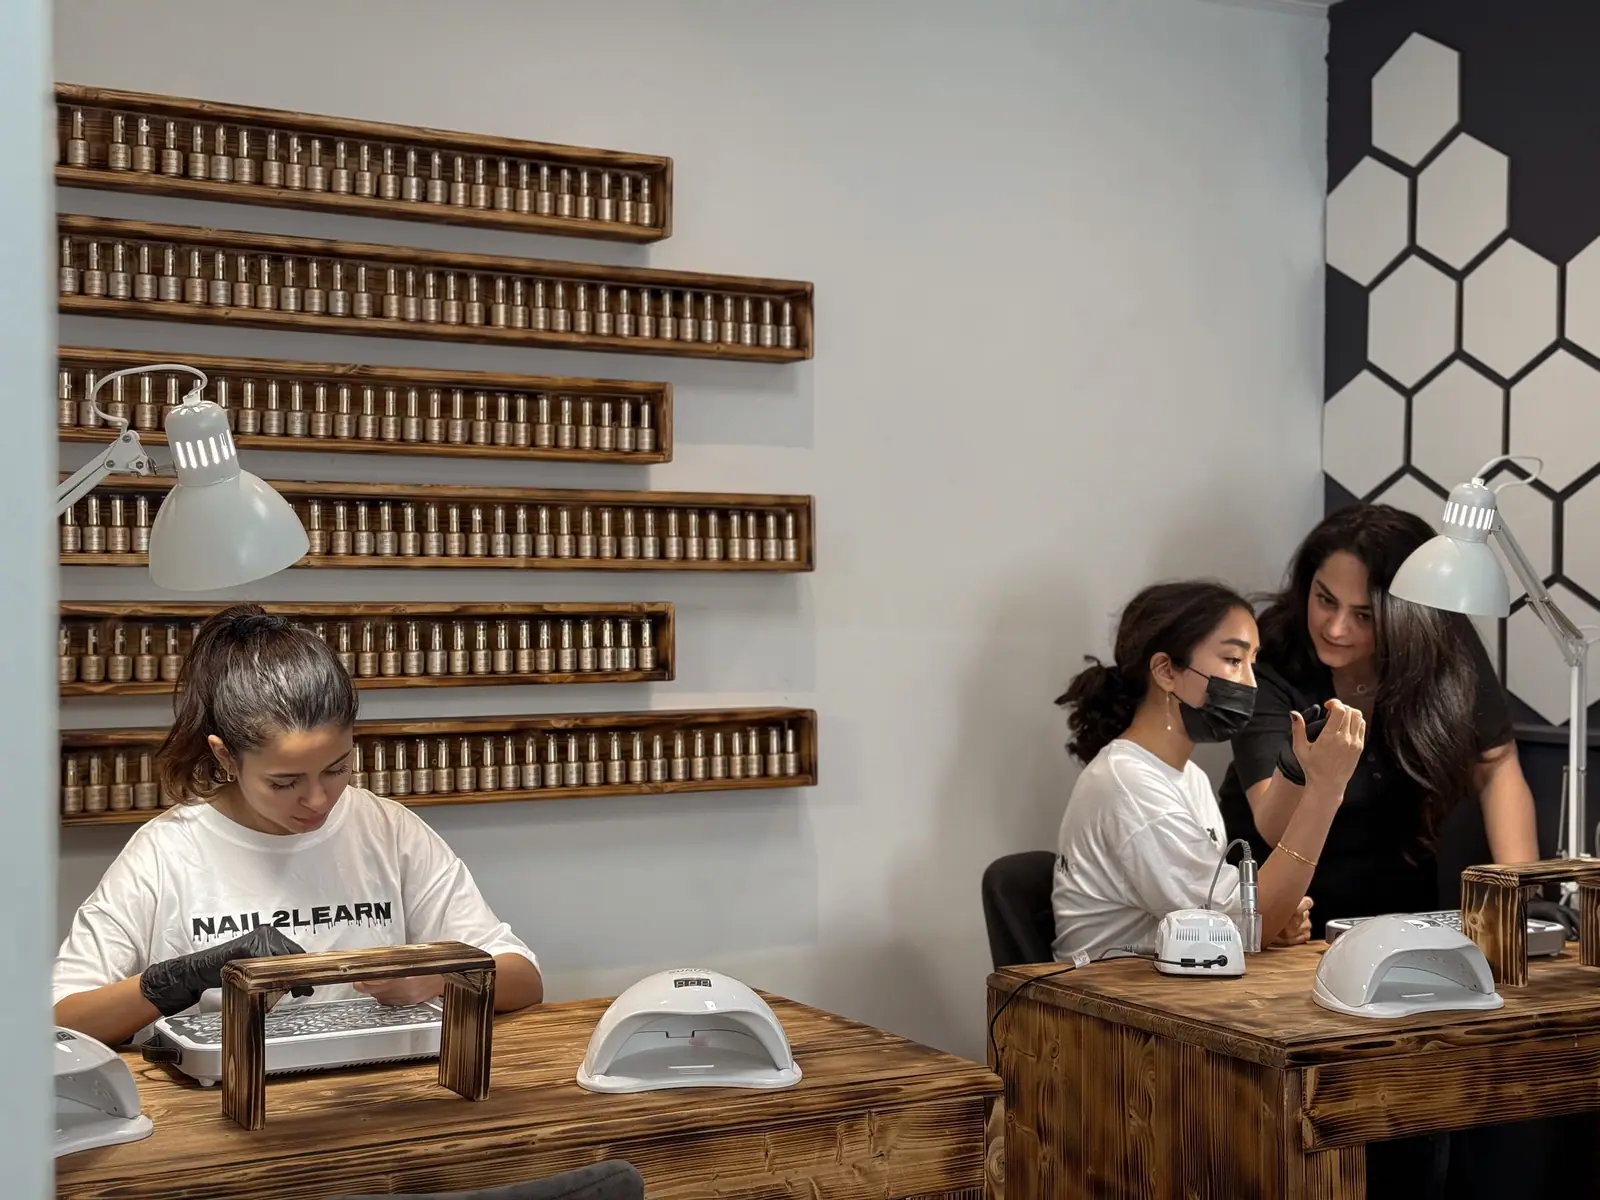
Always hold the hand comfortably and view the nail straight on. Using light, continuous strokes in one direction gives you total control over the file angle, preventing accidental flat spots or uneven arches. Students at our academy practice these exact techniques on real models during practical sessions at Zieglergasse 36 in Vienna.
Structured practical experience makes all the difference when transitioning into professional work. Our comprehensive Nageldesign Kurs covers essential shaping techniques alongside e-file training and nail extension fundamentals across a hundred lessons and roughly 21 hours of hybrid training.
Comparing Classic Nail Shapes
| Nail Shape | Best Suited For | Filing Angle | Structural Strength | |
|---|---|---|---|---|
| Almond | Almond | Short or wide fingers | 45-degree angle tapering to a rounded tip | High with gel or acrylic apex |
| Oval | Oval | All finger types and short beds | Smooth rounded arc along free edge | High on natural nails |
| Square | Square | Long fingers with wide beds | 90 degrees straight across tip and sides | Moderate; corners can catch |
| Coffin | Coffin | Long nails or extensions | Tapered inward at 30 degrees, flat top | High with artificial reinforcement |
Choosing the correct shape depends on natural nail health, finger anatomy, and client maintenance habits.
Learn what you are reading about.
In the Vienna classroom, on real models, with a starter kit. The course covers what an article can only touch.
See the courses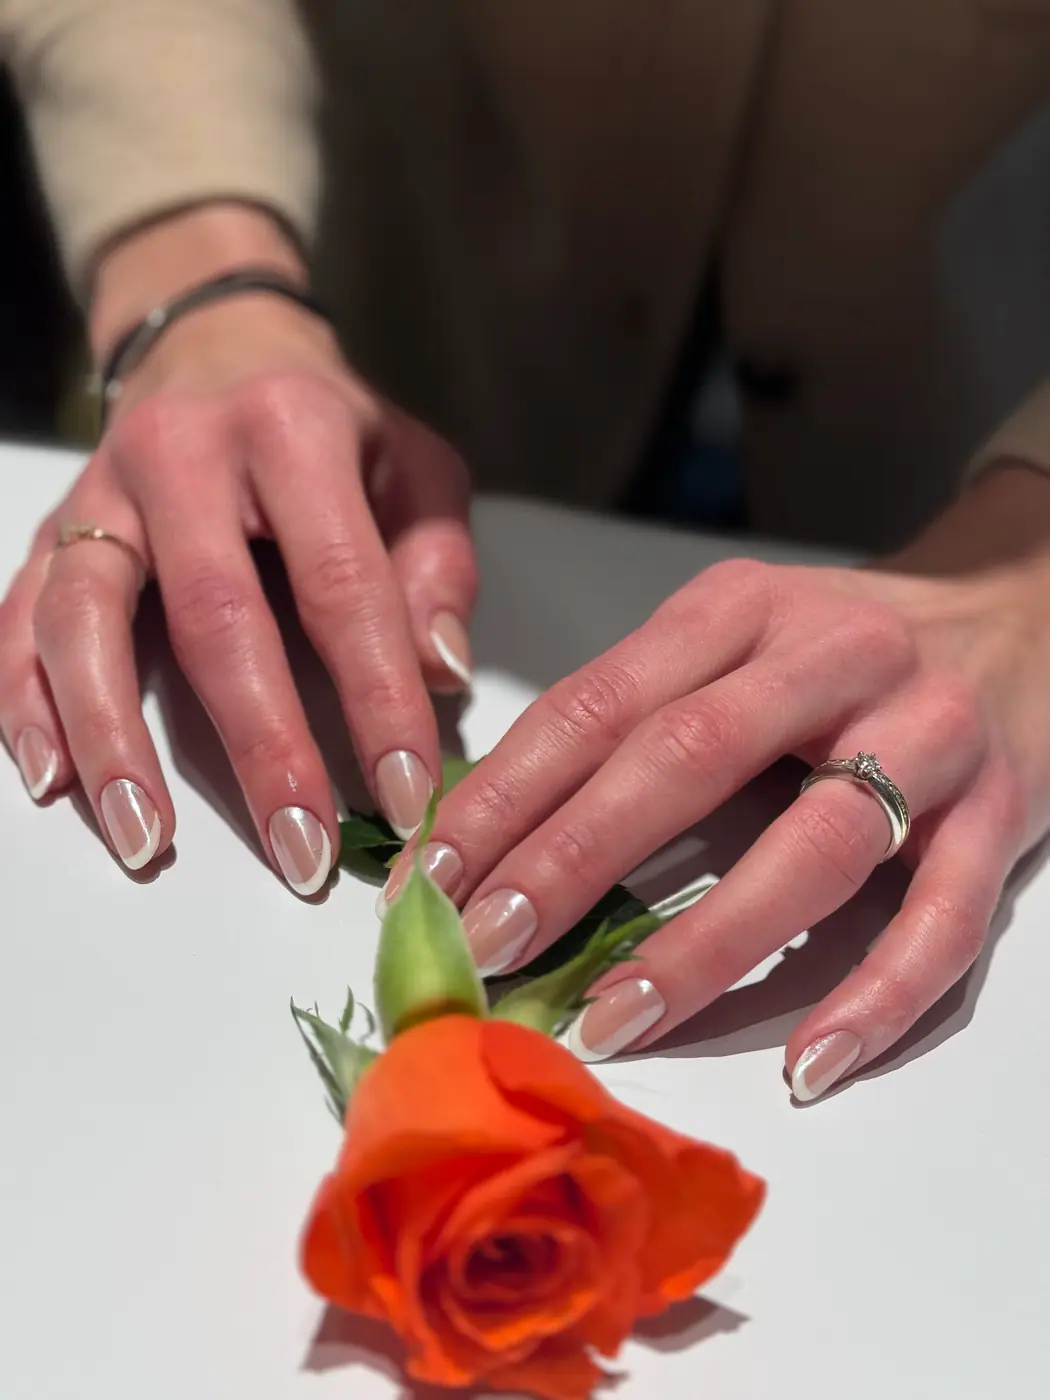
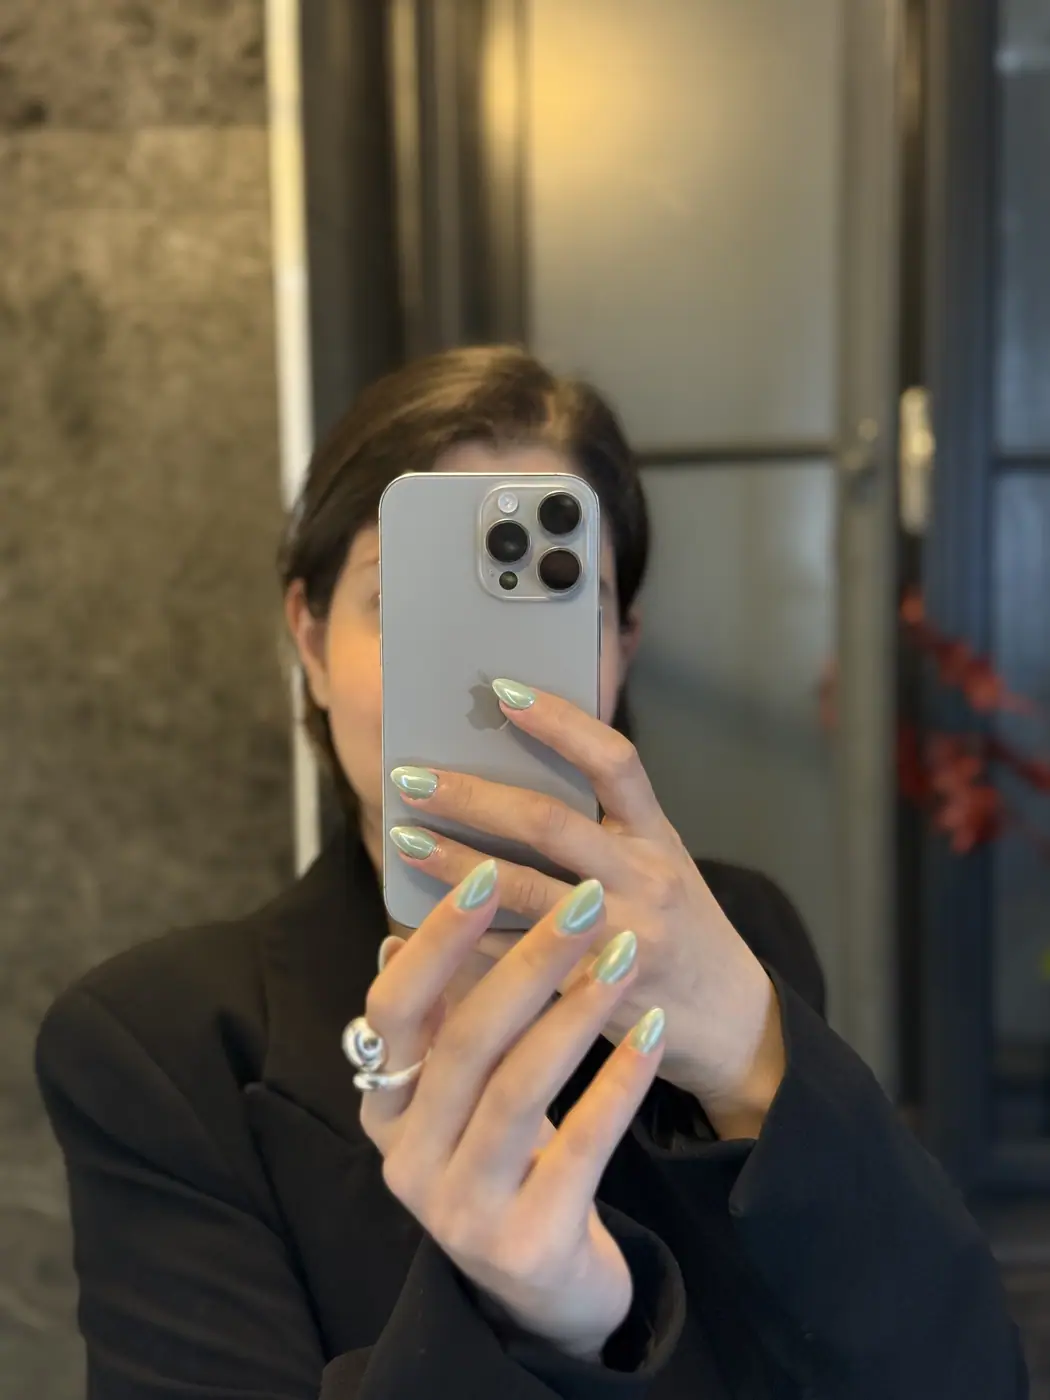
Key differences between almond, oval, square, and coffin contours
Each popular contour requires specific file angles and structural apex support to ensure durability in daily life.
- Almond shape – Features tapered sides that meet at a rounded point, creating an elongated look that requires strong apex reinforcement.
- Oval shape – Mirrors the natural curve of the cuticle with soft, rounded side edges, offering great durability for natural nails.
- Square shape – Features crisp straight sidewalls and a sharp 90-degree free edge, ideal for long fingers with wide nail beds.
- Coffin shape – Tapers inward along the sidewalls before squaring off flat at the top, requiring gel or acrylic extensions for proper structure.
Practicing nail shaping on real models in Vienna
Theoretical knowledge of filing angles only comes alive through tactile practice on diverse natural nails. Every model presents distinct natural curves, side grooves, and growth patterns that require customized filing angles.
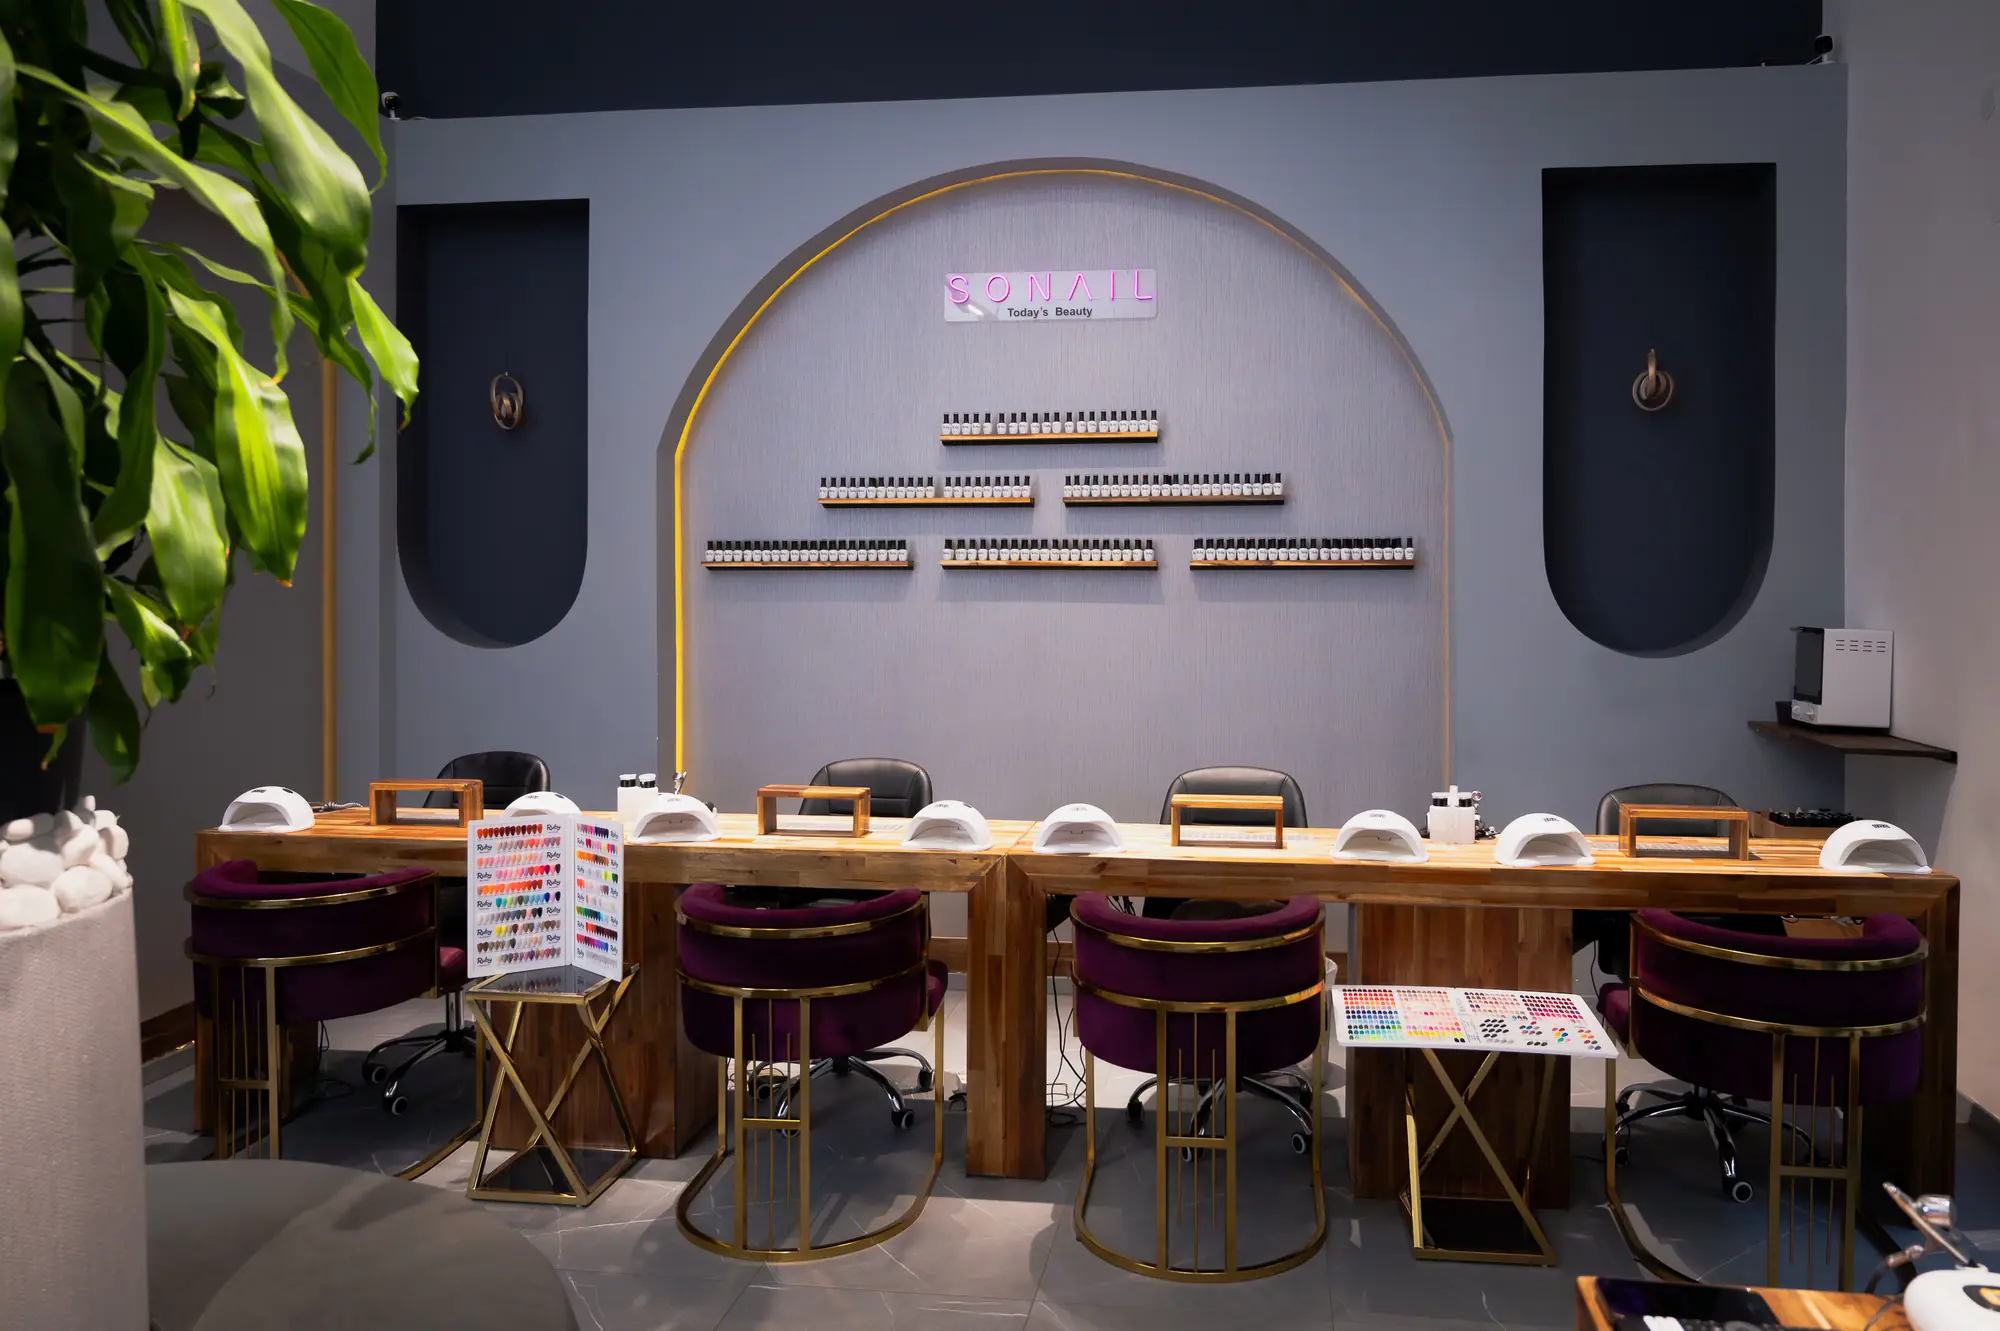
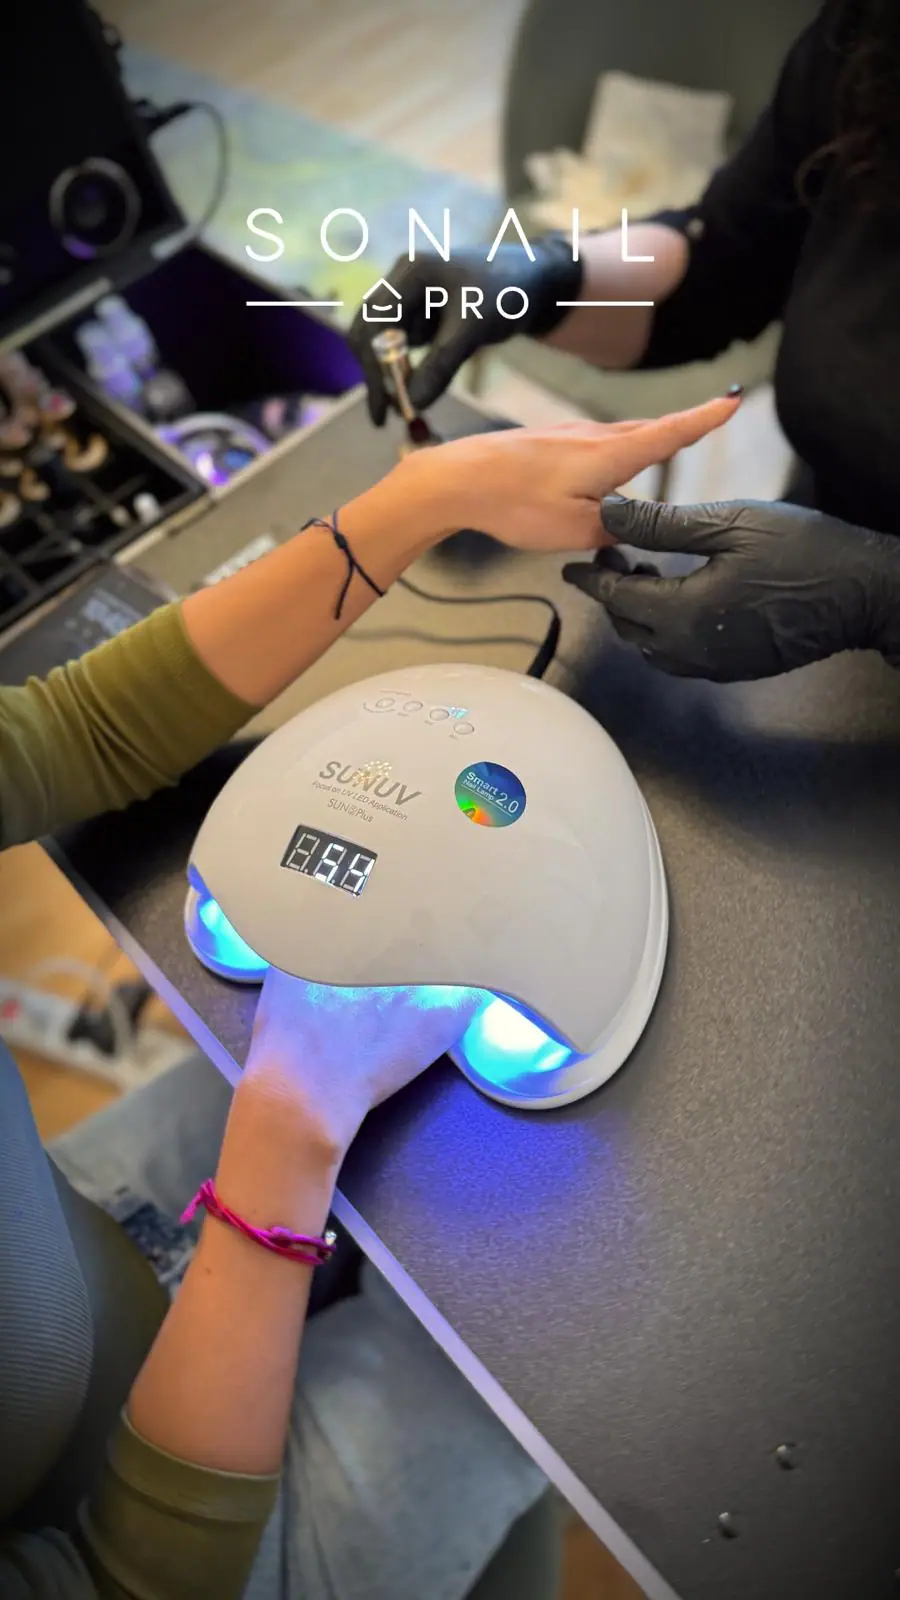
In our classroom setting at Zieglergasse 36, students work under direct supervision from a personal mentor. You receive a full starter kit containing professional files, an e-file, lamps, and gels that remain yours throughout your career. You can discover more about our classroom environment on our Vienna academy page.
Mastering precision filing helps you build confidence for client services. Graduates who pass the final quality assessment on a model earn their certificate and gain admission to the SONAILpro network, connecting them directly with professional working opportunities across Vienna.
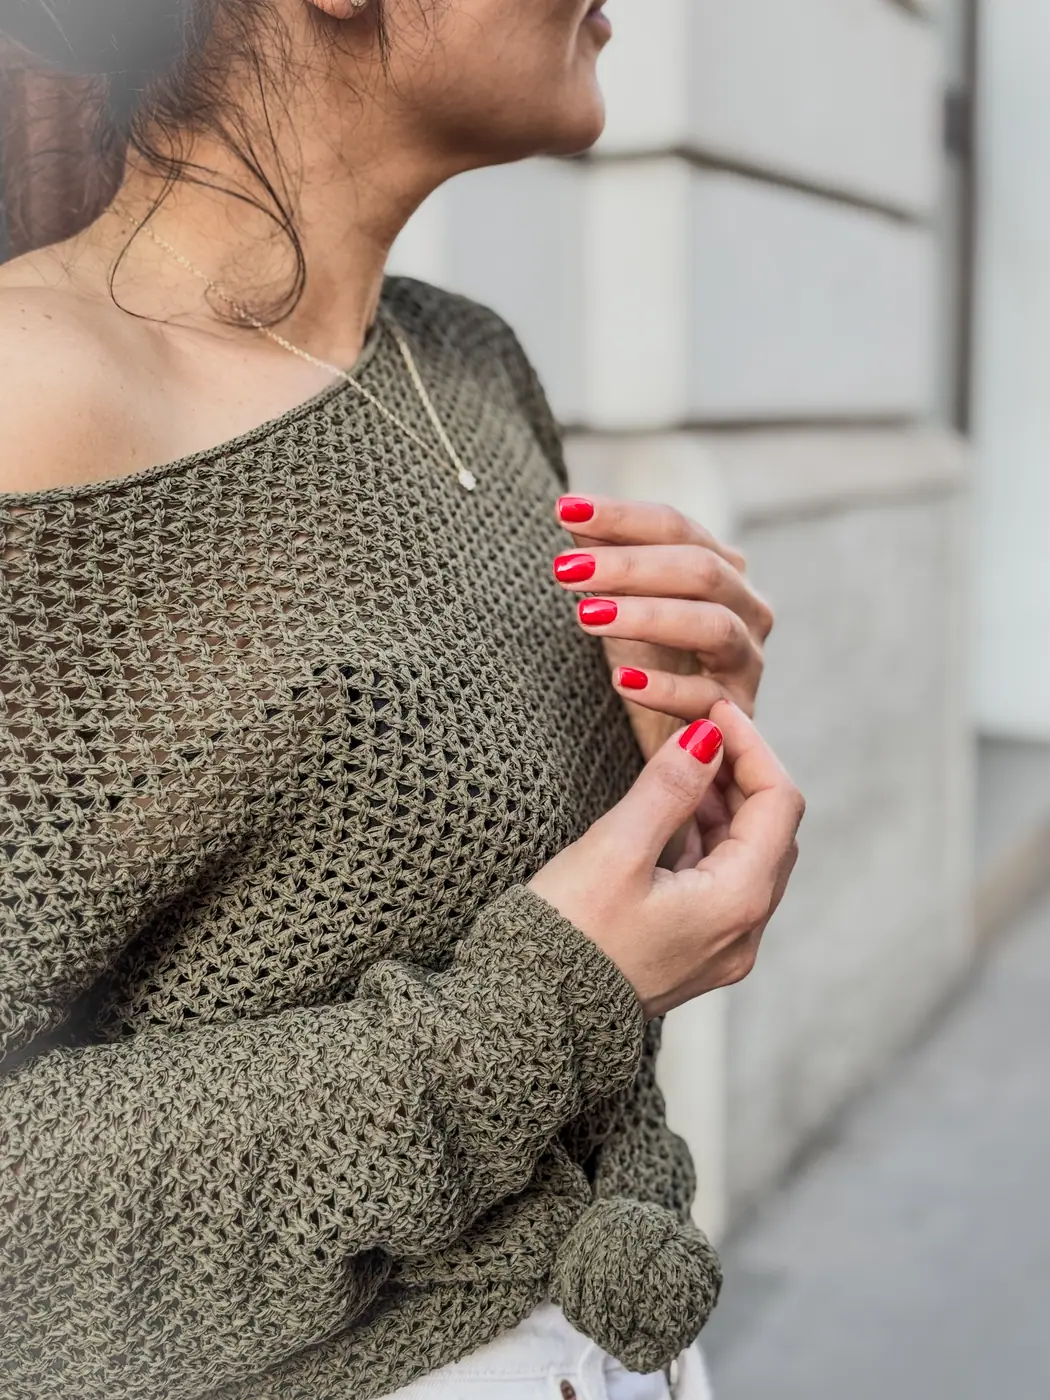
Master precision filing for your salon career
Precise filing technique separates amateur nail work from high-end salon perfection. Understanding how hand anatomy interacts with file angles allows you to deliver durable, stunning shapes every time.
With structured practice on real models, learning platform access whenever it suits you, and personal mentor guidance, mastering symmetry becomes a repeatable, confident skill.
The short version
- 1Always align the file angle with the natural sidewall to preserve nail strength.
- 2Match nail shapes to client finger length and cuticle line curvature.
- 3File from the outside edges toward the centre line rather than sawing back and forth.
- 4Check alignment from both technician and client viewpoints for true symmetry.
- 5Practicing on real models builds muscle memory for clean, balanced contour lines.
Apply, free and without obligation.
Two minutes for the form, then we call you and talk through which course fits – instalments and funding included.
Apply nowFrequently asked
Sources and further reading
Does this sound like you?
Send your application
Two minutes. We get back to you within one working day, in German or English.