5 min readAuf Deutsch lesen
Common Acrylic Modelling Mistakes and How to Avoid Them
Master acrylic nail application by avoiding common mistakes like cuticle lifting, product bubbles, structural cracks, and poor liquid-to-powder ratios.

In short
The most common acrylic modelling mistakes include lifting along the cuticle, trapped air bubbles, thick nails without an apex, and cracking at the stress point. These issues stem from improper natural nail preparation, incorrect liquid-to-powder monomer ratios, contact with skin, or cold room temperatures rather than flawed product quality.
At a glance
- Core Skill
- Liquid-to-powder ratio control
- Primary Causes
- Poor prep, skin contact, cold room
- Key Fixes
- Proper prep and correct bead ratio
- Training Style
- Hands-on practical classroom corrections
Why Cuticle Lifting and Trapped Bubbles Occur
Lifting along the cuticle zone is one of the most frustrating errors for acrylic technicians. In Austria, nail design operates as a freies Gewerbe (free trade requiring a basic Gewerbeschein trade licence), which means client retention depends entirely on practical application quality. Lifting occurs when natural oils remain on the nail plate, when primer or dehydrator is omitted, or when wet acrylic touches the surrounding skin tissue. Once cured product touches living skin, natural oils break the bond instantly.
Trapped air bubbles within the cured enhancement spoil the clarity and strength of the acrylic. These bubbles appear when the liquid-to-powder ratio is inconsistent—usually too wet—or when the technician aggressively pats or drags the bead with the brush. Overworking liquid monomer introduces air pockets into the bead before it settles onto the nail plate.
02
Steps to Secure Bond and Bubble-Free Beads
Achieving consistent results with acrylic requires a disciplined routine during surface prep and product pickup. Correcting these early steps prevents the majority of downstream issues.
Following a structured preparation routine ensures maximum product adhesion and clear material clarity on every client.
- 1
Thorough cuticle prep
Remove non-living tissue from the nail plate using gentle cuticle work and lightly buff the natural shine away.
- 2
Dehydrate and prime
Apply nail dehydrator followed by the appropriate primer to remove lingering surface moisture and oils completely.
- 3
Control bead ratio
Wipe excess monomer from the brush against the dappen dish side to pick up a medium-dry bead with smooth consistency.
- 4
Gentle bead placement
Place the bead near the cuticle area without touching the skin and guide it smoothly into place using light press-and-pat movements.
Structural Weaknesses: Thick Nails and Stress Point Cracks
When beginners attempt to make acrylic enhancements stronger, they often add excess product across the entire nail plate. This results in thick, clunky nails that look unnatural and feel heavy. True structural strength comes from creating a balanced apex over the stress area, not from uniform thickness from cuticle to free edge.
Nails that crack across the stress point suffer from two primary structural flaws: either the apex is completely missing or the extended tip length exceeds what the natural nail plate can support. When an enhancement lacks an apex, daily physical impacts press directly onto the weak centre line, causing horizontal fracture lines or painful detachment.
Learn what you are reading about.
In the Vienna classroom, on real models, with a starter kit. The course covers what an article can only touch.
See the courses
Environmental and Chemical Factors Impacting Acrylic
Product behaviour is not dictated solely by hand movement; external environment and chemical choices play a major role in how acrylic sets and wears over time.
- Room temperature – Working in a cold room causes monomer liquid to cure much slower, causing the bead to run into side walls and set with a dull finish.
- Product yellowing – Using lower-grade monomer, incorrect top coats, or exposing clear acrylic to UV light without protective filters causes unsightly discoloration.
- Natural plate damage – Inadvertent over-filing of the natural nail thins the keratin layers, causing heat spikes and painful sensitivity during monomer application.
- Top coat selection – Applying top gels incompatible with acrylic surfaces can lead to chipping, clouding, or peeling along the tip boundaries.
Understanding these subtle factors ensures your sculpting material behaves predictably during application.
Refining Technique Through Practical Classroom Training
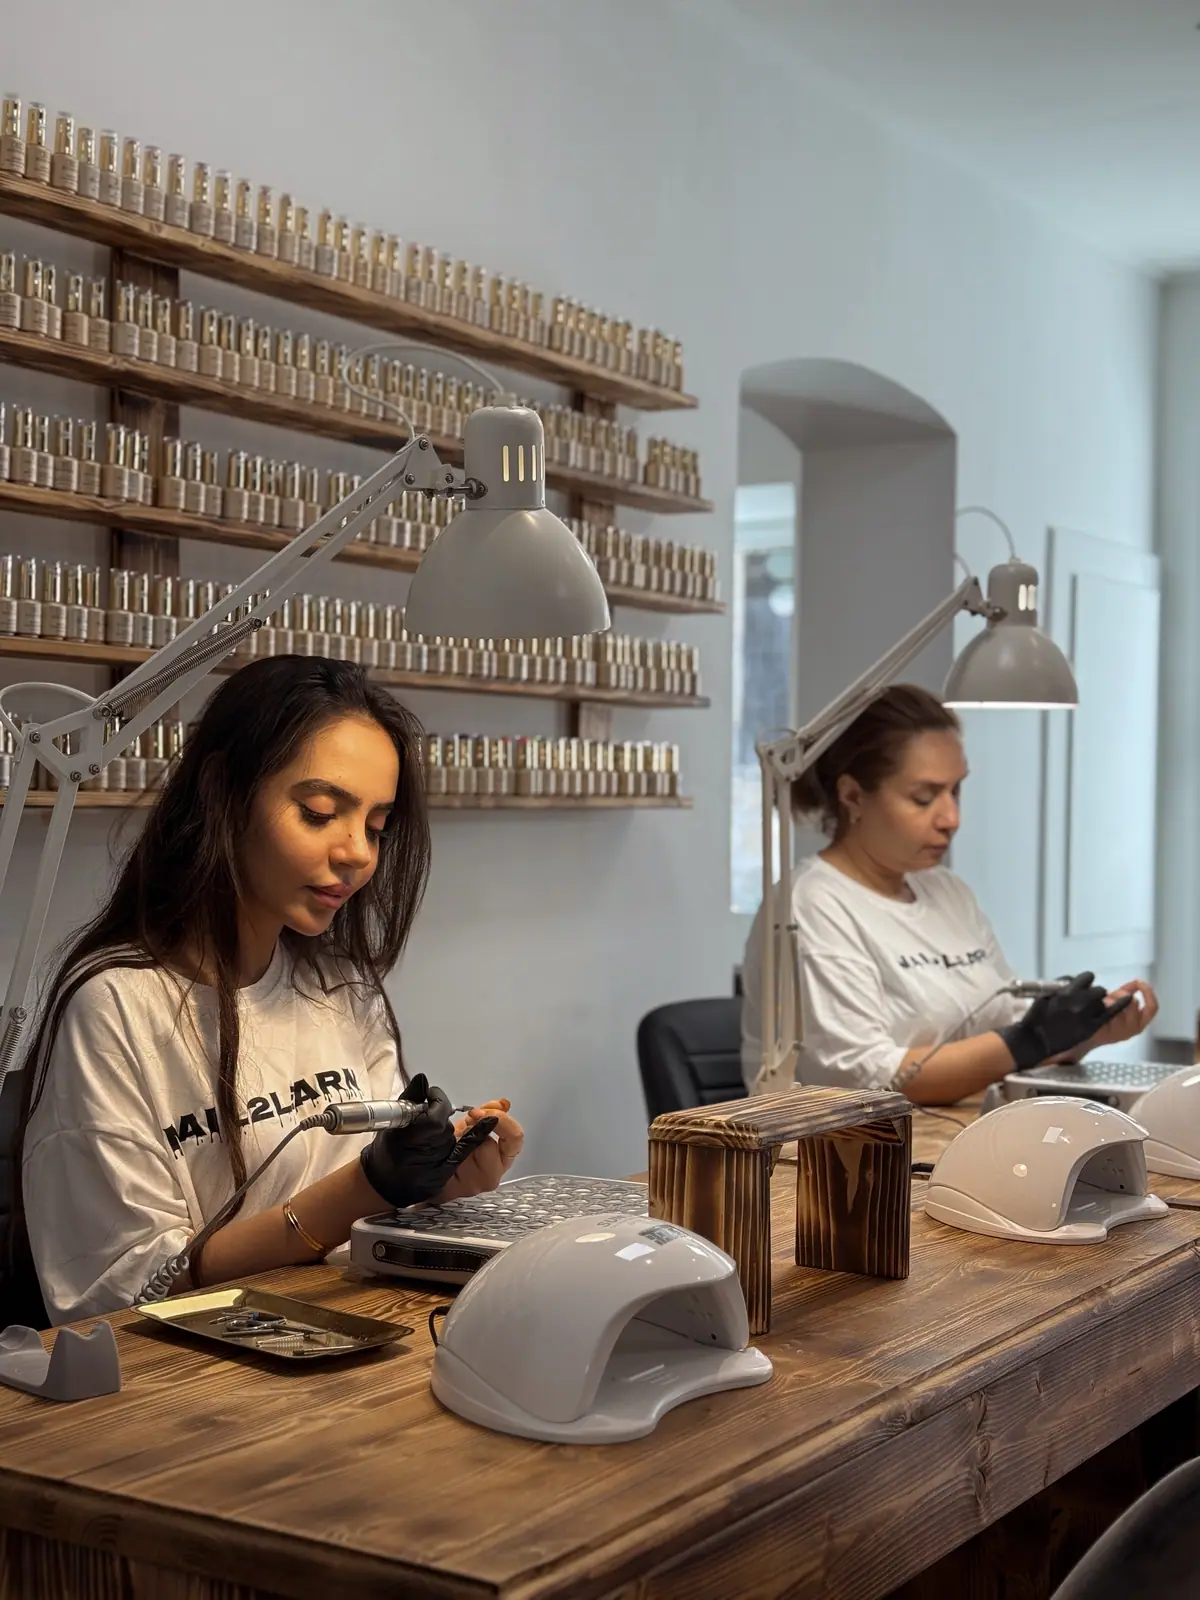
Because liquid-and-powder acrylic techniques are rarely taught in standard Austrian beauty modules, self-taught mechanics often pick up subtle errors in ratio and brush pressure. Enrolling in structured hands-on courses allows technicians to receive real-time corrections from experienced instructors while practicing on real models.
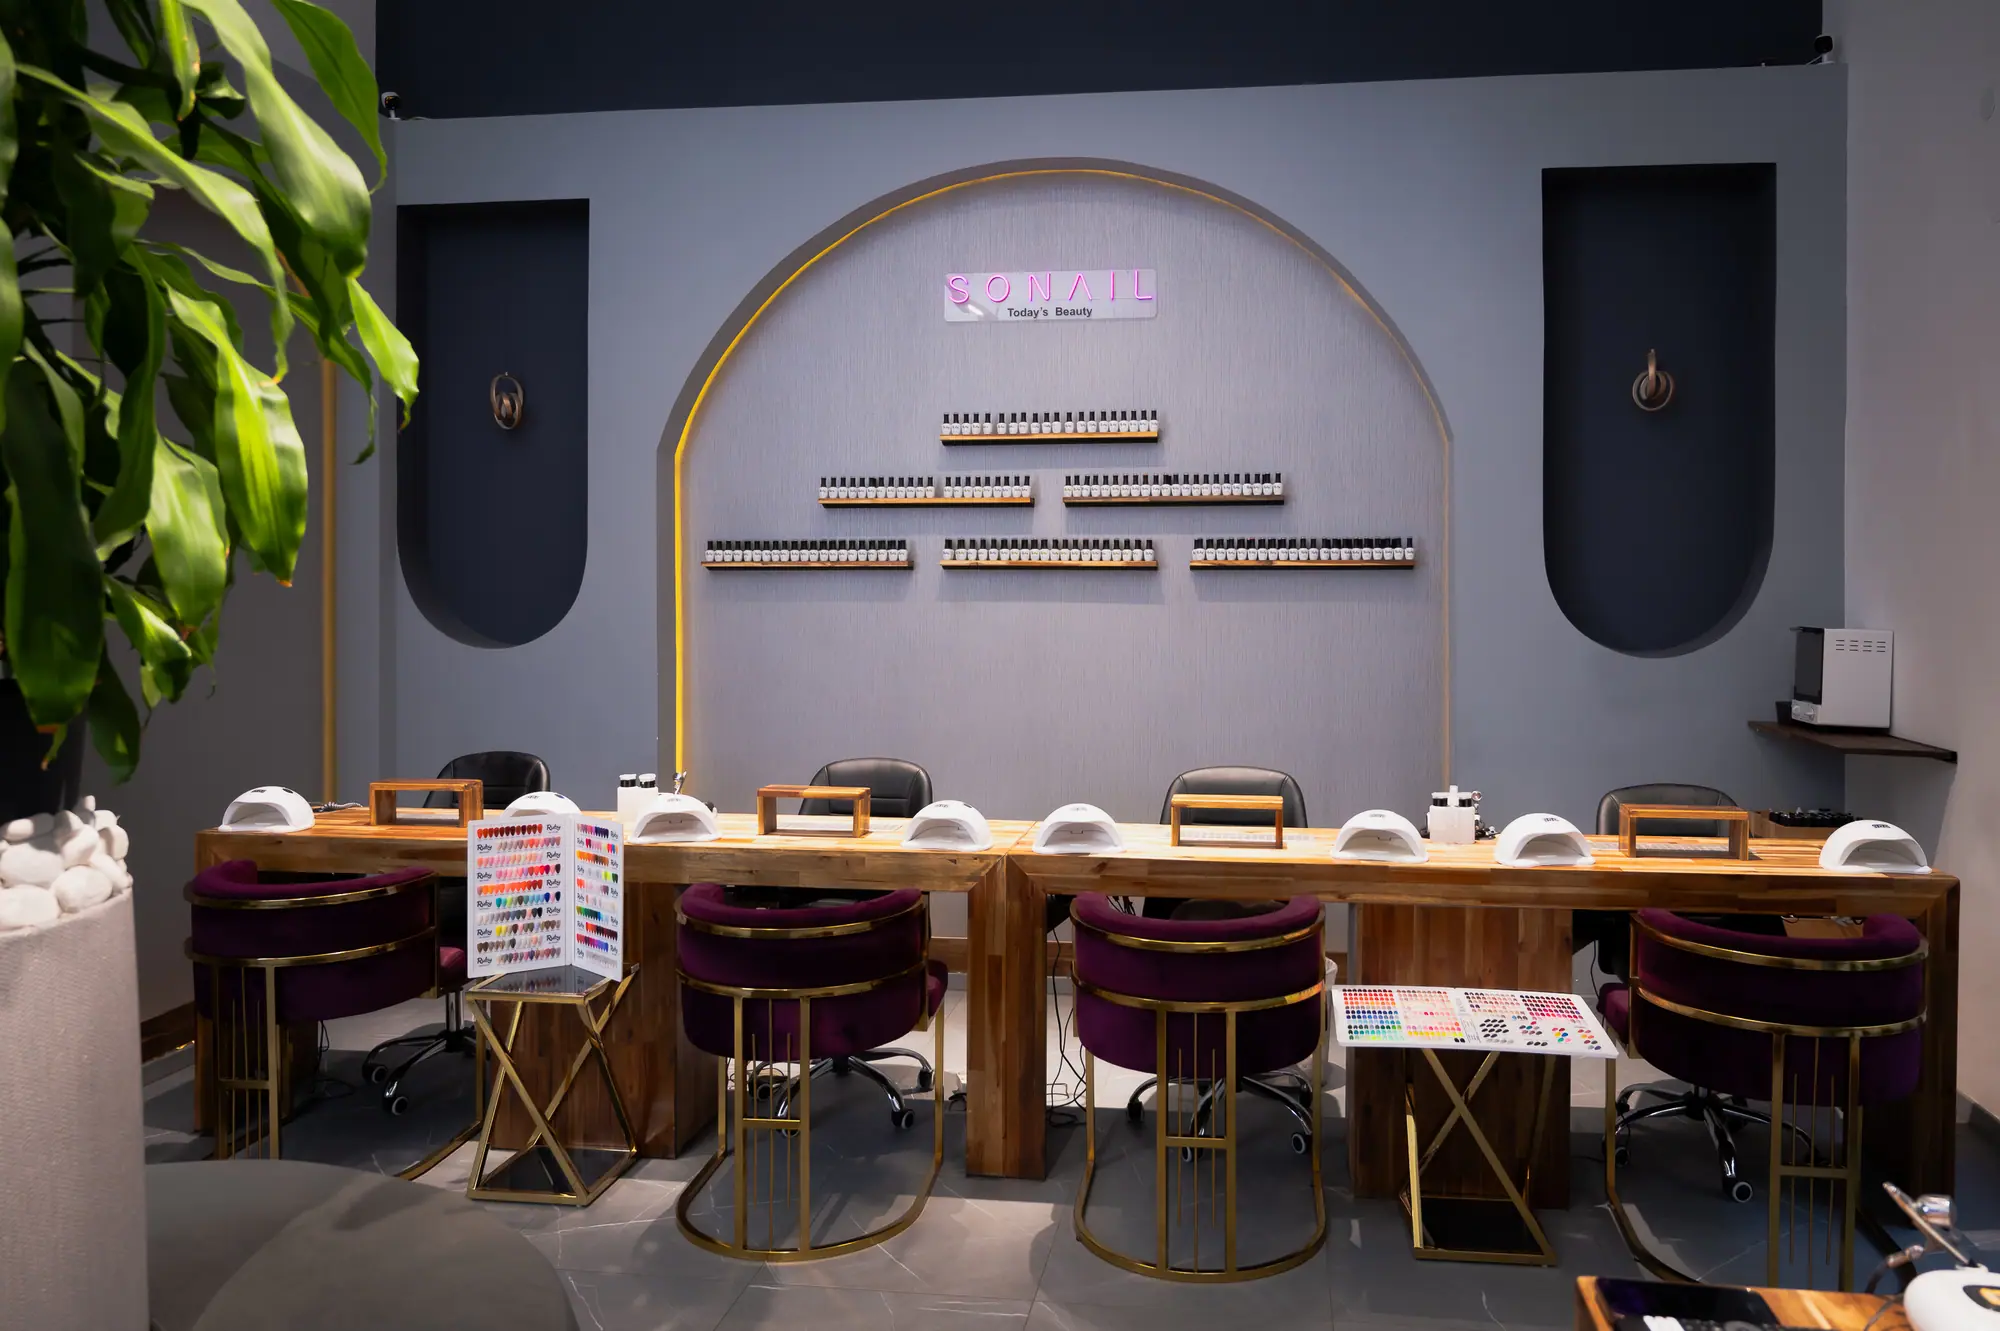
Inside our dedicated classroom environment, students learn how minor changes in brush angle, room temperature, or bead consistency immediately resolve issues like lifting or cracking. Many graduates proceed directly to client work within professional establishments like the SONAIL salon because their technical application is clean, thin, and durable from day one.
Precision Beats Excess Product
Flawless acrylic sculpting relies on disciplined natural nail preparation, accurate liquid-to-powder ratio control, and intentional apex placement.
By addressing root causes rather than applying extra material, nail technicians build durable, elegant extensions that resist lifting, cracking, and yellowing.
The short version
- 1Cuticle lifting usually happens due to inadequate nail prep, skin contact, or missing dehydrator.
- 2Air bubbles form when an acrylic bead is mixed too wet or when the brush patting is overworked.
- 3Cracks across the stress point occur when the extension lacks a structured apex or is built too long.
- 4Working in a cold room slows down monomer curing, leading to dull or sluggish product behaviour.
Apply, free and without obligation.
Two minutes for the form, then we call you and talk through which course fits – instalments and funding included.
Apply nowFrequently asked
Sources and further reading
Does this sound like you?
Send your application
Two minutes. We get back to you within one working day, in German or English.