5 min readAuf Deutsch lesen
How to Model Acrylic Nails: A Step-by-Step Practical Guide
A complete step-by-step walkthrough of acrylic nail modelling, covering nail preparation, bead control, structural placement, and filing technique.
In short
Acrylic nail modelling is a liquid-and-powder technique where liquid monomer and acrylic powder combine on a brush to create a self-curing bead. The technician places this bead onto a prepared natural nail, tip, or form, building the apex and edge zone by zone before hand-filing the final structure to create durable, long extensions.
At a glance
- Material System
- Liquid monomer and acrylic powder
- Curing Method
- Self-curing (air-dries in minutes)
- Application Method
- Zone-by-zone bead placement
- Extension Base
- Paper forms or artificial tips
- Key Property
- Exceptional hardness and shape retention
How do you prepare the natural nail for acrylic application?
Proper preparation forms the foundation of durable acrylic modelling. Before applying any product, the natural nail plate must be completely clean and matte. Any residual oil, moisture, or cuticle tissue adhering to the nail surface will disrupt bonding and cause premature lifting.
In Austria, nail design operates as a freies Gewerbe (unregulated trade), meaning no formal apprenticeship is required to obtain a Gewerbeschein (trade licence). Because there is no legal requirement for state examinations, studio owners evaluate technicians strictly on their practical prep work and structural skill.
Setting up forms and tips for extension length
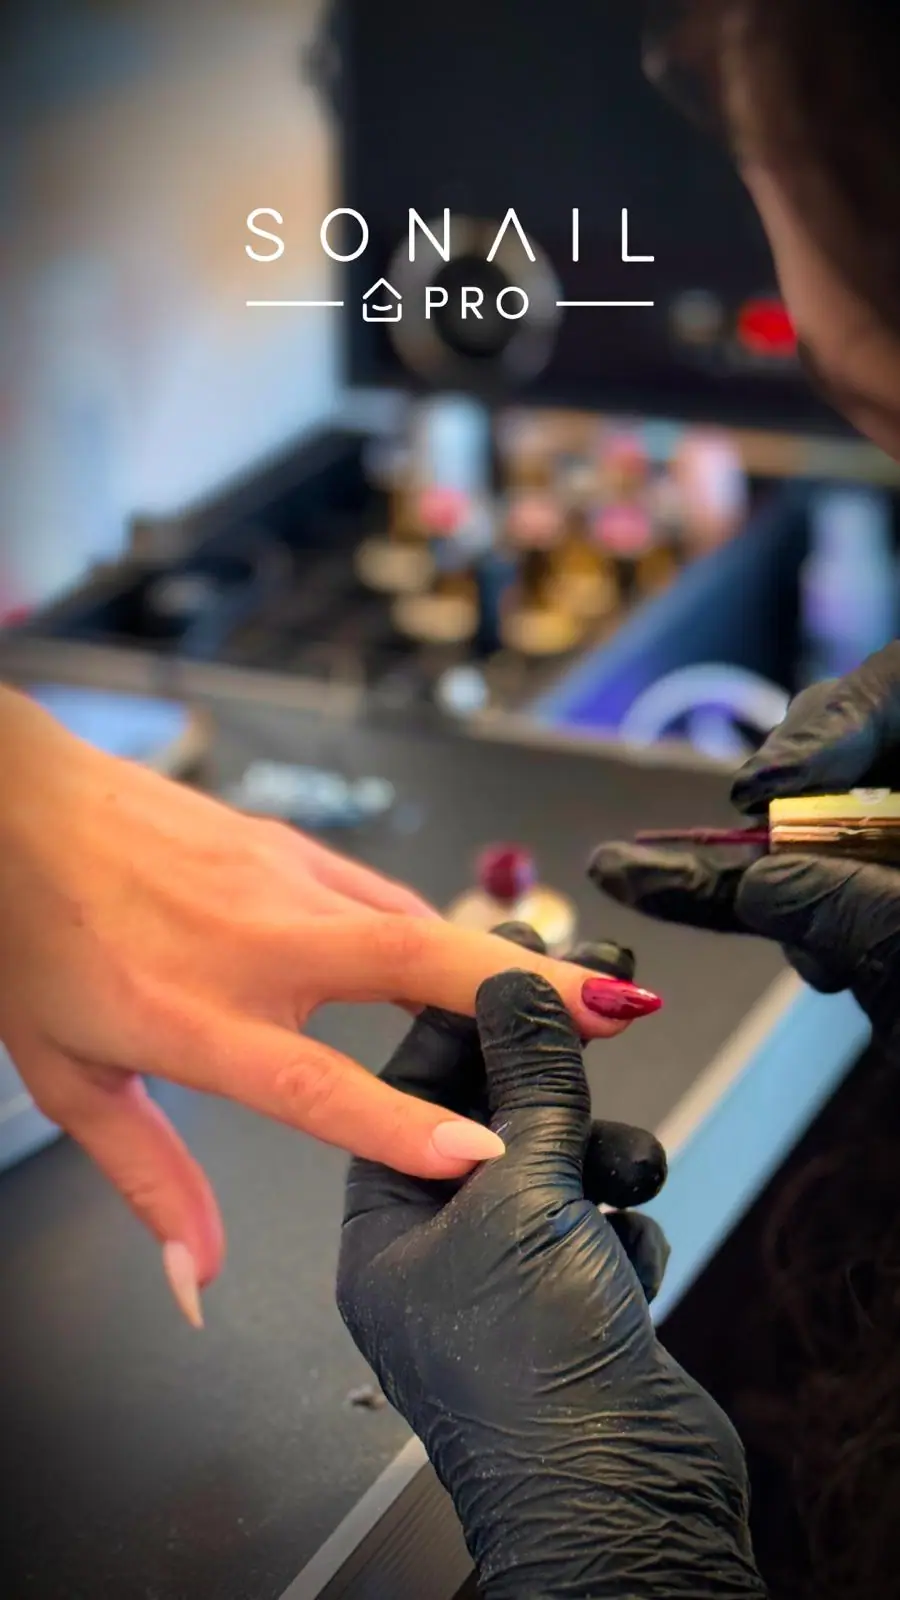
Once the nail plate is prepped, extended length is created using either plastic tips or paper sculpturing forms. Tips are glued to the free edge and blended flush with the natural nail, whereas forms fit directly underneath the natural edge to allow sculpturing from scratch.
Fitting a paper form requires precise alignment with the natural nail's C-curve to prevent gaps where liquid acrylic could seep through. Students at our academy learn how to tailor paper forms using small scissor cuts so the acrylic structure flows seamlessly from the natural nail bed.
03
What is the three-zone method for placing acrylic beads?
Acrylic modelling relies on creating a polymer bead by dipping a specialised brush into liquid monomer and touching the tip into acrylic powder. The bead is then guided across the nail in three distinct zones to construct correct geometry and strength.
Because acrylic air-cures within minutes, working zone by zone allows you to build structural balance without battling product that has already begun to harden.
- 1
Zone 1 (Free Edge)
Place the first bead at the extension tip, pressing and patting it from side wall to side wall to establish the length and extension edge.
- 2
Zone 2 (Apex)
Place a second bead in the middle third of the nail bed to create the apex, providing essential structural support against stress breaks.
- 3
Zone 3 (Cuticle Area)
Place a smaller, slightly wetter bead near the cuticle, feathering it flat towards the skin without touching the surrounding tissue.
Learn what you are reading about.
In the Vienna classroom, on real models, with a starter kit. The course covers what an article can only touch.
See the courses
Hand-filing and refining the acrylic structure
After the acrylic completes its air-curing phase and hardens fully, filing shapes the raw material into a sleek, symmetrical enhancement. Hand-filing requires a structured routine: straightening the side walls, defining the lower arch, and rounding the C-curve.
Refining the apex ensures that material tapers smoothly towards the cuticle and free edge. After filing, buffing smooths file scratches before applying a gloss top coat or gel polish. You can review our full practical syllabus in our course overview to see how filing techniques are taught step by step.
Common acrylic modelling mistakes in classroom training
Mastering acrylic requires coordination that only comes with physical repetition. Beginner errors usually stem from misjudging material behavior or rushing through preparatory steps.
- Incorrect Monomer Ratio – Beads that are too wet run into the cuticles, while overly dry beads produce lumpy surfaces and air pockets.
- Hesitant Brushwork – Working too slowly causes the bead to set on the brush or nail before it can be pressed flat.
- Overloading the Cuticle – Placing heavy product directly against the skin creates thick edges that catch and lift as the nail grows.
- Incomplete Shine Removal – Leaving shiny spots on the natural nail prevents the monomer from bonding, leading to early separation.
Building Practical Precision
Mastering acrylic modelling requires understanding material chemistry and developing steady hand movements through repeated physical practice. Working on real models in a structured environment helps refine your bead placement, filing rhythm, and structural control until every nail set meets professional standards.
The short version
- 1Thorough nail preparation with dehydrator and primer is essential to prevent product lifting.
- 2Controlling the liquid-to-powder ratio ensures smooth application without flooding or lumping.
- 3Building acrylic zone by zone creates a balanced apex and stable free edge.
- 4Acrylic air-cures rapidly in minutes, requiring swift brush movements before hand-filing.
Apply, free and without obligation.
Two minutes for the form, then we call you and talk through which course fits – instalments and funding included.
Apply nowFrequently asked
Sources and further reading
Does this sound like you?
Send your application
Two minutes. We get back to you within one working day, in German or English.